


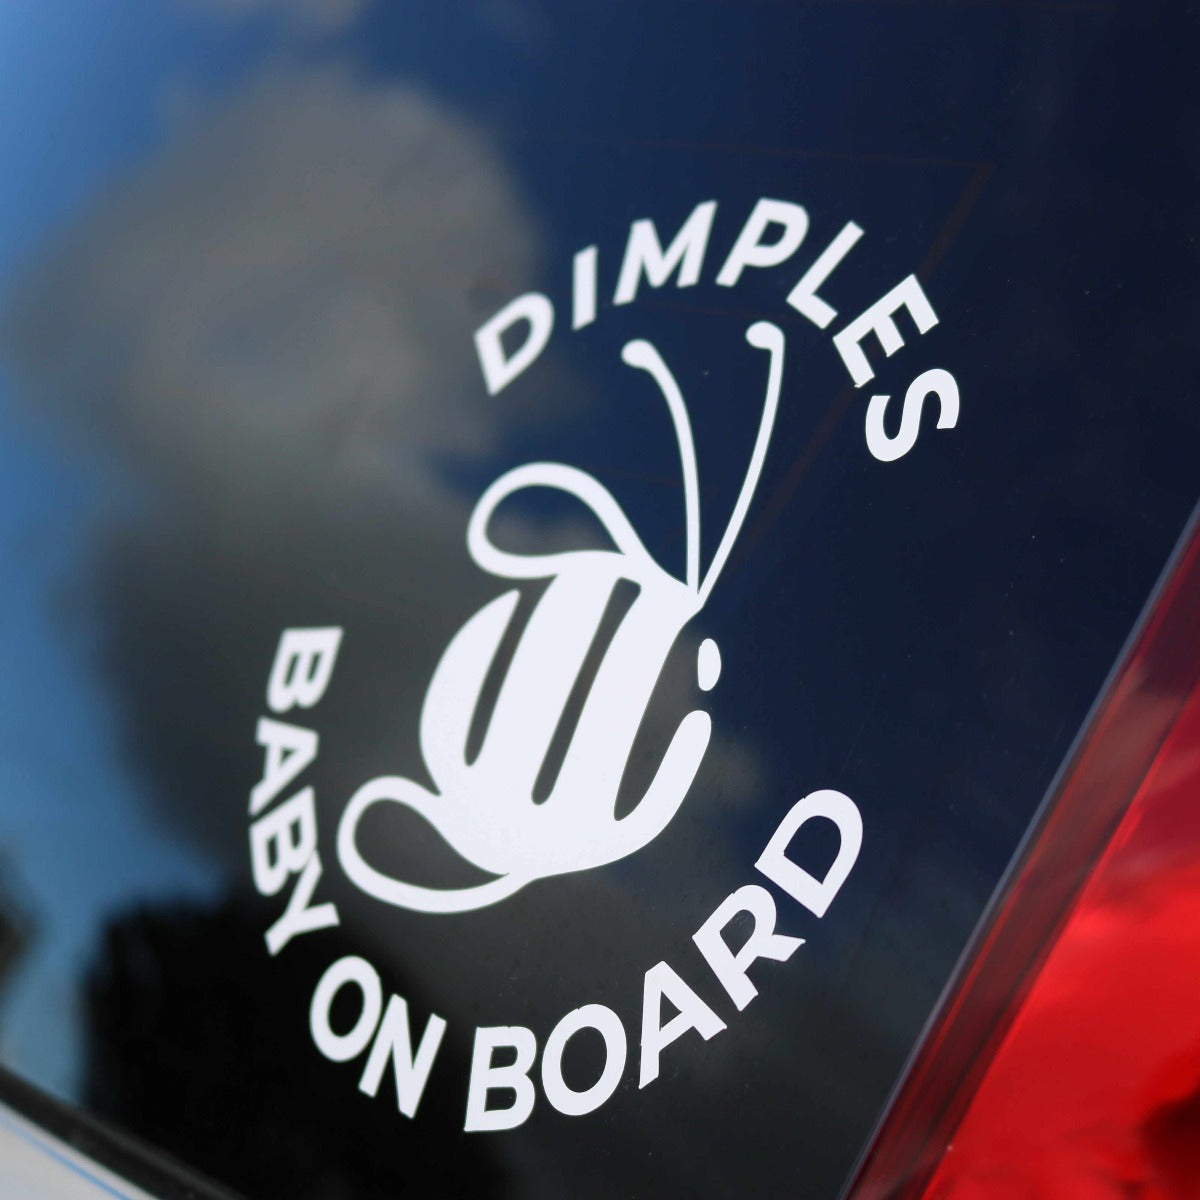


Baby on Board Sticker
Baby on Board Sticker
SKU:DBBS130
In stock
Couldn't load pickup availability
Overview
Overview
This Decal has an adhesive back, so simply peel off the backing, then place the sticker where you like it. Brush over the sticker with your hand to build heat - this will help the sticker stay, then slowly peel away the adhesive front.
Delivery and Returns
Delivery and Returns
- Delivery: Free within NZ on orders over $130 (excluding bulky items) or $8 standard shipping
- Returns: Accepted within 14 days of receipt with proof of purchase
- Some items are excluded from returns including sale items, hardware, car seats, prams, monitors and personal items - please click here for the full list.
Share this product
Recently viewed products
Related Blogs

Tips & Tricks - Cleaning your Carseat
How to Keep Your Car Seat Clean (and Looking Like New!) Parents and caregivers know that washing can quickly take over your life when you’ve got little ones around – especially when it comes to car seats! Kids, being kids, seem to have a knack for turning a spotless, brand-new car seat into a treasure trove of crumbs, spills, and, well, the occasional bodily fluid. While it would be ideal to ban all food and drink from the car seat (let's face it, that’s easier said than done!), prevention is key. A full-sleeved bib worn over the straps can help catch any messes before they even get the chance to make a mark. If a major mess happens (think: vomit, diaper leaks, or spilled drinks), the sooner you clean it up, the better. In between those big cleans, a quick vacuum once a week can keep things under control and prevent crumbs from piling up. For extra protection, consider using protective car seat covers or mats to catch any messes that could cause long-term damage to your car. Here are some simple steps to keep your car seat looking fresh and clean: 1. Vacuum Your Seat Give your seat a quick shake to loosen any crumbs or debris, then vacuum up the mess before removing the car seat for a deeper clean. This will stop any stray bits from making a mess as you go! 2. Remove and Wash the Car Seat Covers Start by checking your car seat’s instruction manual for cleaning guidelines. Many car seat covers are machine washable, but some may require hand washing. Be sure to note any special instructions about detergent, water temperature, or removable parts. Pro tip: Take a few photos or a video as you remove the covers. This can be a lifesaver when it's time to reassemble! A gentle, mild detergent or just soap and water are typically your best bet. Avoid bleach or harsh chemicals, as these can damage or weaken the fabric. When it comes to drying, line drying is your safest option, as most car seat covers can't go in the dryer. Give them plenty of time to air out and dry completely. 3. Clean the Harness & Straps Use a non-abrasive cloth and warm water to spot clean the harness and straps. Follow your manual’s instructions, as some manufacturers allow using soapy water, while others may not. 4. Clean the Buckles Buckles are critical for keeping your child safe, so avoid submerging them in water or using any lubricants. Instead, spot clean them with warm water and a soft cloth, keeping them free from soap or cleaning products. 5. Clean the Shell Vacuum the car seat shell to catch any loose bits, then use an old toothbrush or cotton bud to get into those tricky nooks and crannies. A damp cloth can help wipe down any sticky or dirty areas. Make sure the shell is fully dry before putting everything back together. 6. Reassemble Your Seat If you took photos or videos while disassembling, now is the time to refer back to them! Check your manual to ensure all parts are correctly reassembled, and give the harness and buckles a final check to ensure they’re securely fitted and ready for your little one. Note: This guide is intended to help with your car seat cleaning routine, but always follow the manufacturer’s specific instructions in your car seat manual to keep your warranty intact.
Learn more
How to Store a Car Seat Between Children
As parents, we often find ourselves marvelling at how quickly our little ones grow. One day, they're nestled securely in their capsule and before we know it, they're moving on to a convertible car seat. If you're planning to store a capsule for a future sibling, you’ll want to ensure it remains in excellent condition, ready to protect your next bub. One of the main concerns during storage is preventing mould, which can be harmful to your baby's health and damaging to the car seat. Also, be aware that car seats do have an expiration date. Check this before packing the seat away. Here are some storage tips to help keep a capsule clean and mould-free: 1. First Step - Clean Thoroughly Before you even think about storing the car seat, it’s crucial to clean it thoroughly. Mould thrives in dirty, damp environments, so you want to ensure the seat is as clean as possible. Remove Fabric Covers : Start by removing any fabric covers, cushions, and padding that can be taken off. Many of these can be machine-washed. Check the manufacturer’s instructions for your seat. Wipe Down You can spot-clean your harness and straps with warm water and a non-abrasive cloth (ensure you follow your instruction manual for advice as some manufacturers allow the use of soapy warm water). Vacuum Pay close attention to crevices that can accumulate crumbs, sand and dirt. Dry Completely : After washing, make sure that every part of the seat is completely dry before storage. Leaving any moisture behind is an invitation for mould growth. Some drying time in the sun is great as ultraviolet light is a natural disinfectant. Read More about cleaning a car seat here. 2. Choose the Right Storage Environment Where you store the car seat is as important as how you clean it. Cool, Dry Place : The storage area should be cool and dry. Avoid basements, garages, or attics if they’re prone to humidity, which can encourage mould growth. A closet or spare room inside your home, where temperatures are more regulated, is ideal. Elevated Position : Store the car seat off the ground to avoid potential contact with dampness. Packaging : Seal the seat in a plastic bag and then in a cardboard box for protective storage. If you’ve kept the original box the seat came in, that’s ideal. Ensure you have all the pieces together including the manual, any infant inserts and even the car seat adapters for your stroller. However you may want to store the fabric covers separately in the linen cupboard if you have one. 3. Check Periodically It’s a good idea to regularly check on the car seat during storage to make sure there’s no exposure to damp or pests. 4. Pre-Use Inspection Before you use the car seat for your next child, inspect it thoroughly. Check for any signs of damage, mould, or mildew. Give it another clean if necessary, and ensure that all components are still in good working order. Final Thoughts Storing a capsule car seat between children can save you money and reduce waste, but it requires careful cleaning and storage to keep it in top condition. Don’t forget to get it out of storage and do that pre-use check nice and early so you have everything sorted well before the new bub arrives.
Learn more
Carseats Standards in New Zealand
Under New Zealand law, the driver is responsible for making sure all children under seven years of age are using a child restraint (car seat) that’s appropriate for their age, size, and development. Keeping your child safe is the number one priority. As a guide, from 0-2yrs, most babies should be in a rear-facing capsule or car seat, from two to around four or five they should be in a front-facing restraint, and after that, they should stay in a booster seat until they’re 148cm tall. Read our full guide to choosing a car seat here New Zealand car seat standards Every car seat that is sold or used in New Zealand has to be manufactured to a standard that complies with our minimum safety standards. You will find the car seat safety standard displayed as a sticker or a label on the shell of your child restraint. This will indicate which safety standard your car seat was manufactured to. When looking at car seats, you may identify a variety of different stickers: 1. The joint Australian, and New Zealand standards. This sticker can be identified as AS/NZS 1754. If you have an Australian standard car seat with this sticker identification it can be bought into New Zealand and used here. 2. The European Standard can be identified by a sticker reading ECE R44/04 or UN R129 and/or i-size. A European standard car seat with a sticker showing these numbers is legal for use within New Zealand. 3. The US standard child restraints can be identified with the code FMVSS 213. Some child restraints that are manufactured to the US standard are approved for use within New Zealand, but it is important to note that not all are. Child restraints that are manufactured to AS/NZ and European standards are independently tested to achieve the certification that allows each car seat to be used within New Zealand. However, car seats that are manufactured to the US standard are self-certified. This is why independent testing of US standard car seats must be run by the certification agency - Bureau Vista - prior to being used here in New Zealand. Once it has been approved for use here, each car seat will have a yellow compliance sticker applied. Note: If you buy a car seat in America, it won’t be compliant for use in NZ. Even if the exact same model can be purchased here, one bought in America won’t have the required compliance sticker and therefore isn’t legal for use in NZ. 4. You won’t often see the Japanese Car Seat Safety Standard here. It is only approved in NZ for child restraints that are built into a vehicle – eg a built-in booster seat that can’t be removed from the car. Note: If the car seat standard sticker falls off, or is no longer able to be read (this could be because a car seat is old and has expired), the restraint is not compliant, and therefore it is not legal for use on our roads. I’m Visiting NZ – Can I bring my own car seat? When visiting New Zealand from overseas you can bring your own child restraint only if it carries either the AS/NZS 1754 or the ECE R44 / R129 safety standard sticker.
Learn more
Pretty Brave Shoes: A Guide to Little Feet
Little feet have a lot of growing and exploring to do! From those first little steps to running, playing and discovering the world, choosing shoes that are comfortable and designed to move with them is an important part of every stage.
Learn more